
When I first started using Android, I would use file managers supporting various network protocols to download files from my PC over WiFi. While this was worked, it was still a constantly manual process of copying, deleting, or updating files.
For a long time I tried to locate applications that would allow a more automated approach, but the Android Market (eventually becoming the Play Store) had not yet matured to catch up with advanced demands.
A few months ago I found an app that made all the difference, and I've been using it since (along with some other tools) to wirelessly sync selected files from my computer.
Preparation
First, you'll need the following items and tools:
- An Android device
- The FolderSync app
- A Windows PC running Windows Vista or later (the same can be done using a Linux based operating system, but these instructions are specifically for Windows)
- Link Shell Extension (while not strictly necessary, it does make the process a lot easier)
Setting Up Your PC
This method relies on Windows' folder sharing capability and a feature of the NTFS file system that allows for creating links between files and directories. A link does not behave like a shortcut. Links automatically direct application and user access from one location on the filesystem to another - it's like having two copies of a file or directory, only one virtually doesn't take up any storage. Shortcuts only provide a way to open a directory, file, or URL that is elsewhere. It cannot be accessed in the same way that the object it points to can be.
This allows us to select a subset of directories to suit our needs; mobile storage is still comparatively limited. I certainly would not be able to sync a full file collection to my phone or tablet.
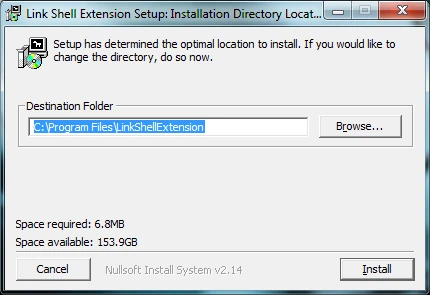
The first step is to install the proper version of Link Shell Extension for your PC. If you have a 32 bit PC or 64 bit PC, make sure you use the matching installer. The installer is very basic, only asking for a language selection and the destination directory. The default is fine to use.
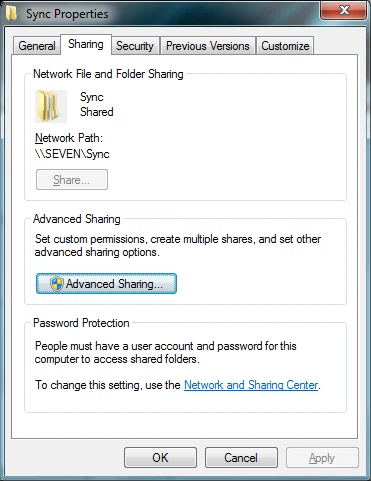
In the location of your choice (I chose inside my user directory), you'll want to create another directory. I simply named mine "Sync".

The Sync directory needs to be shared on your network. To do this, right-click on it and choose "Properties".

Choose "Advanced Sharing".
Check "Share this folder" and choose "Permissions".
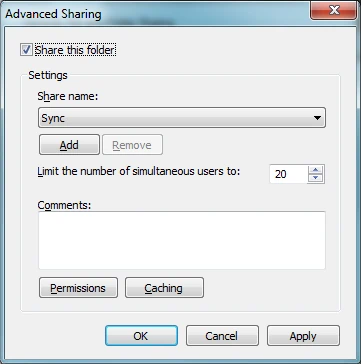
Next, you will want to select "Add...".
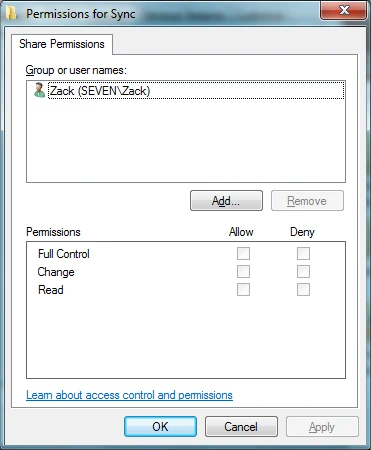
You will type in the same name that appears in Windows as the name for your user account. Your Windows account will require that a password be set to make the best (and most secure) use of this feature. Once you choose "Ok" the dialog will close and you will see your name in the list as shown in the screen shot above. By default, only Read is checked. This is fine, and I would recommend this to protect your files from accidentally getting deleted should something go wrong.
Now, for the contents of the sync folder. This folder is going to contain nothing but folders (if you wish to be organized) and different types of filesystem links. It will not contain any actual files.
I often sync music to my device, so I usually create a "Music" folder.

At this time you will want to open your empty music folder and in a new window, navigate to the files you wish to sync. Ah, here we go - I would like to sync a favorite band of mine.

The directory mentioned above contains all the albums I own by the band Ayreon. From here, I can also select individual albums (organized as sub-directories in this case) or individual songs (the individual files contained inside). The exact organization for your computer depends on which media application you use or your own organization preferences.
The Link Shell Extension adds an entry to your context menu upon right-clicking a directory or file.
Right-click the directory or file you are interested in syncing, moving the mouse to "Pick Link Source" and left-click.

You will then right-click in your "Music" directory under "Sync" and move your mouse to the new "Drop As..." entry.

From here, you will choose one of two possible values that will work. If you have chosen a directory, you will want to drop a Junction in place. If you have chosen a file, you will want to drop a hardlink. This ensures that your device will be able to locate the respective items over your network.
Setting up FolderSync
FolderSync has clearly had a lot of thought put into it. The interface is fairly intuitive where one first sets up cloud accounts and then creates folder pairs based on particular accounts.
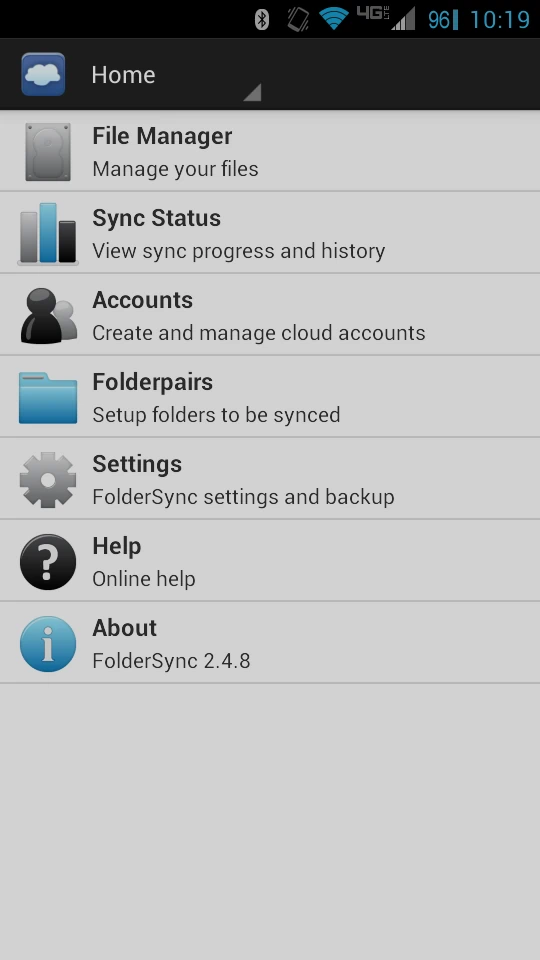
The FolderSync main app screen presents a simple list of options to choose from. Let's select the "Accounts" option.
After clicking the add button at the bottom of the screen, a list of account types is shown. We will want the SMB option for our setup.
You will need to name this account - choose something such as the name of your PC or "My Computer" for future reference. You will also need to provide its IP address, your Windows account name, and your Windows account password for the connection to work. At the end, choose "Test Connection" to check your settings, and then tap the save button shaped like a floppy disk in the upper right hand corner.
Afterword, press back to return to FolderSync's main screen. Next, select "Folderpairs" from the list of options. An add button lies at the bottom left corner of the screen now.
Like the account settings, the folder pair settings require a name. Since I'm using music as an example, I usually name this particular sync "Music". You will select "My Computer" or its equivalent from the list of accounts. When you select a remote folder, you will first locate your Sync share, and then select Music. When you select a local folder, make sure you choose a location you will want your music to be placed. FolderSync will not create a directory called "Music" for you - you will need to create one ahead of time.
From here, the rest of the settings are yours to customize to best fit your needs. I usually enable the following options:
- I set the sync type to "To local folder" - I don't add music to my devices directly, so it does not make sense to try and sync music back to my PC. Of course, the links and junctions don't really provide a solid place to sync files back to, anyway.
- I enable a scheduled sync so that my device automatically scans for new files to add without my intervention.
- I've set the scan interval to "Every hour". I believe this offers a decent chance of getting the latest files that I have added to my Sync shares.
- I have enabled "Sync deletions". This removes any files on the device that no longer exist on the remote share. Be careful - I would only recommend this setting if the sync type is "To local folder" and you or your apps do not add new files to your synced directories manually.
- I usually allow newer files to "Always" replace older ones. This allows updates to files that are made to be mirrored on any devices that check for updates.
- I have my phone set to only run the folder pair when connected to WiFi, and more specifically, only my SSID. This prevents the sync from running when I'm away from home, either draining battery or being entirely ineffective.
- I have also checked the "Only sync if charging" option. If your device has a short battery life, it is probably best to enable this setting as the process could drain a significant portion of your battery.
- If your folder pair includes media, such as photos, videos, or music, it may be best to tell FolderSync to "Rescan media library". This tells Android to scan the incoming files so that they can be added to music applications or media galleries. Otherwise, the files will exist on your Android device and may not be scanned until its next reboot.
After the initial setup, the only maintenance that needs done is to add or remove hardlinks and junctions as you come across files or directories that you want added or removed from your device.
Tip: To save time on your Android device for folder pairs that are to work identically, you can check a folder pair and choose the copy icon at the bottom of the screen. This creates a new template based on the previously selected one.